Getting Started
As usual, the work for this post is available in a Google Colab notebook, so you can follow along there if you’d prefer not to clone the repository and work locally.
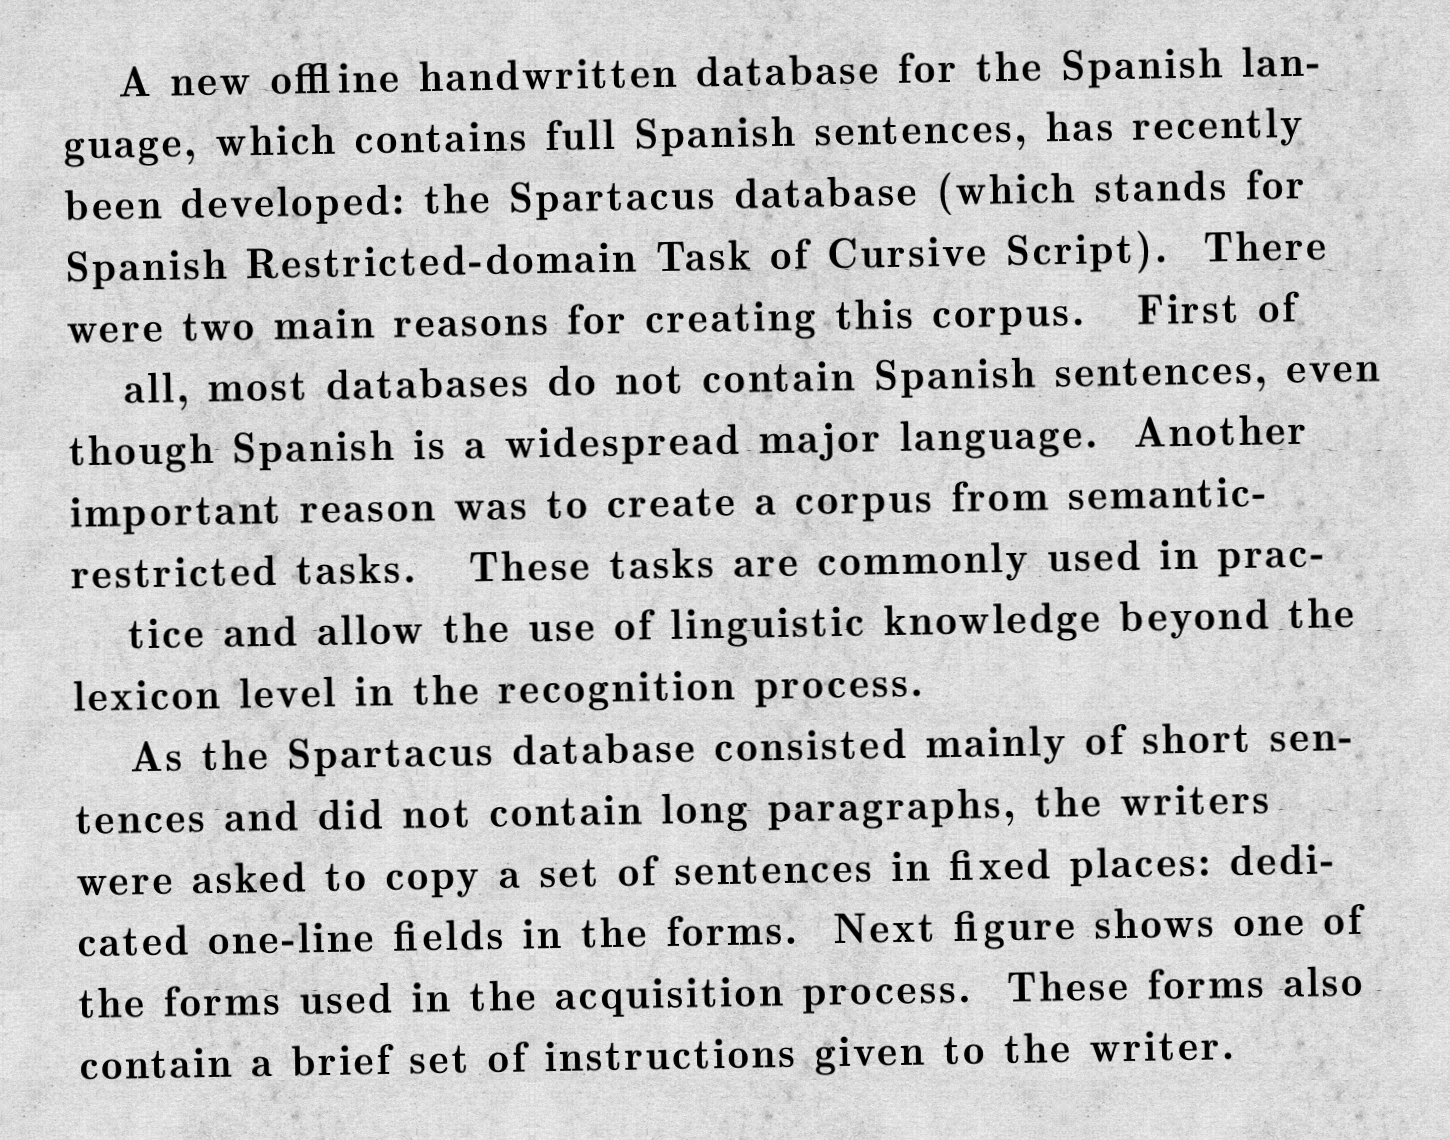
Let’s download the NoisyOffice set and take a look at some of the pictures we’ll try to replicate. The images we want are in theNoisyOffice/RealNoisyOffice directory within the real_noisy_images_grayscale _doubleresolution subdirectory.
Here’s a representative:
Identifying Augmentations
To start, we need to examine our sample image and determine how it differs from a “clean” document, fresh from the office printer.
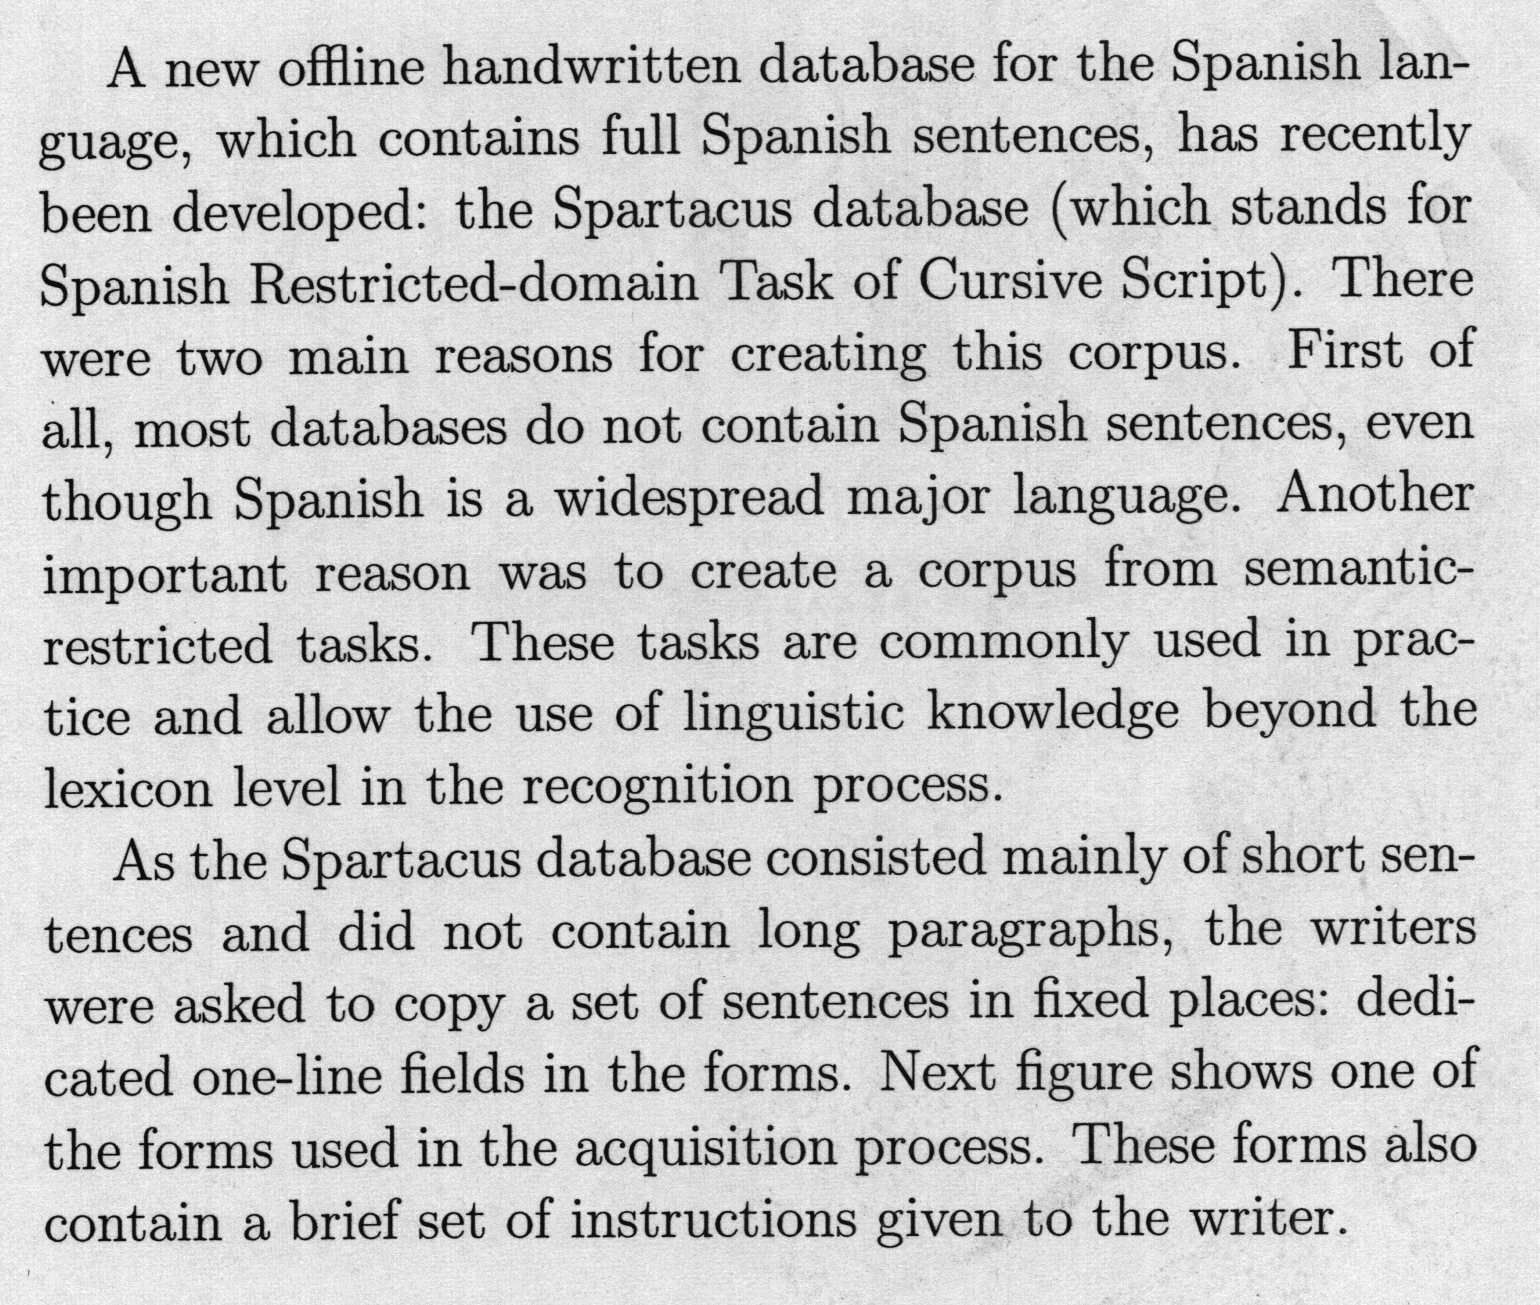
In the image above, we can see some texture in the underlying paper, including some minor staining and shadows. The background is clearly darker than a normal white page, so we’ll need to adjust the brightness. The text has also been subtly rotated by a few degrees counterclockwise. Importantly, it doesn’t look like the text itself has been visibly damaged or distorted, so we won’t need to alter the ink layer.
Augraphy already includes a few augmentations for producing paper texture, one of which is NoiseTexturize. We’ll also use the Brightness augmentation to darken the underlying paper. The stains are a little more difficult to reproduce but we can cheat: we have an image we’d like to reproduce, so we can steal its background!
Producing the Ground Truth
Augraphy pipelines start with an input image, called the ground truth. This image can be a screenshot of a document from your favorite text editor.
NoisyOffice includes clean versions of the images, prior to printing and altering them, for use in training models. In our case, we’ll try our best to reproduce such an image, without taking the one given to us.
Selecting the Font
This is a bit of a challenge, as many fonts exist which look very similar. If you’re reproducing documents from your own business, you may be able to get the necessary information just by asking around. In this case, we can make an educated guess that the producers of NoisyOffice used a popular word processor and font, and see where we get. I’ll type the same text into LibreOffice Writer and we can modify the font as we go.
Look at the first line, in the word “database”. The lowercase a has a little tail, and the s character has little marks coming off the beginning and end of the stroke; these are called serifs. We’re using a serifed font; this narrows things down by 50%! What if we just try to set the font to Times New Roman, probably the most popular serifed font in the world? Here’s a sample of the result:
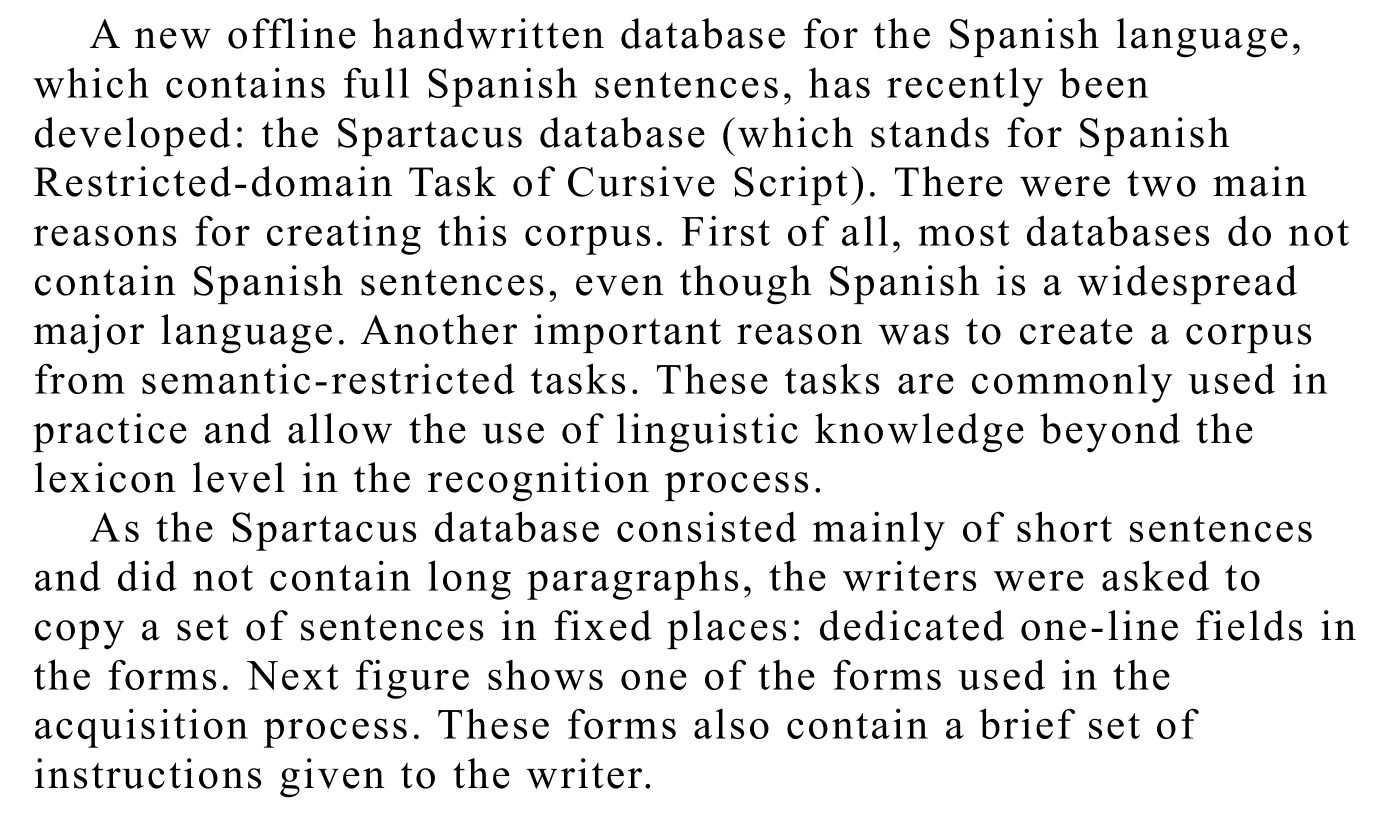
Not good enough. The difference is really noticeable in the repeated ‘f’ characters. We need something else.
I tried a few more serifed fonts and stumbled upon one that looked very close: Latin Modern Roman.
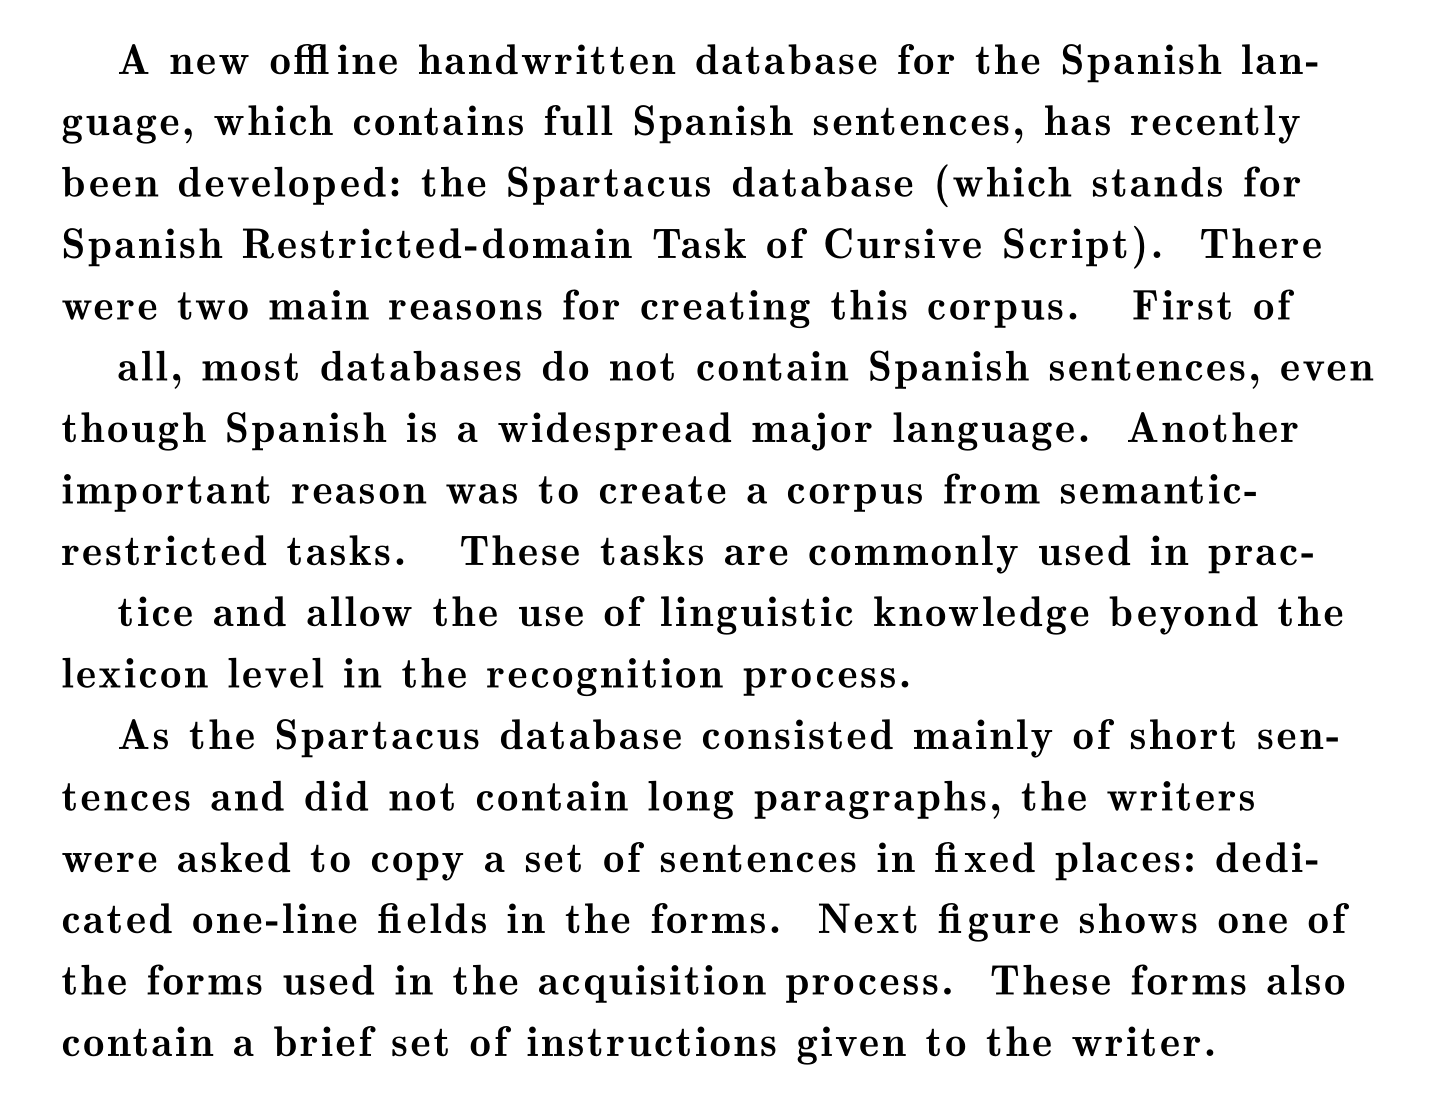
Without contacting the authors, it’s hard to say what the original font was, but this one looks reasonably close to the sample image. We could do better, but this author is not well-versed in typography, and did not want to spend the extra time to manually test additional fonts for an even more accurate picture.
Page Style
Producing this required changing the paragraph spacing style, increasing the indentation at the beginning of paragraphs, manually hyphenating word breaks, and adjusting the page margins. You can expect to perform similar modifications when recreating your own documents.
Background
We’ll take our sample image and crop it to a section not containing text, but with some non-uniform texture. I decided to use this strip from the space between the two paragraphs:

Building the Pipeline
To modify this document, we’ll produce a simple Augraphy pipeline containing the NoiseTexturize and the Brightness augmentations along with a slight rotation, and run that pipeline over our ground truth image. We want to perform three actions:
- texturize the background to match the effect we see in the sample image,
- darken the background,
- slightly rotate the print counterclockwise, one or two degrees
The background will be generated from the cropped texture we took from the sample image, using Augraphy’s PaperFactory. This expects one or more textures available in the paper_textures directory, so we’ll move background.png there now.
Here’s how we express our needs with Augraphy:
import cv2
from augraphy import AugraphyPipeline, NoiseTexturize, Brightness

img = cv2.imread("ground_truth.png")

paper_phase = [
	PaperFactory(tile_texture_shape=(90,532), p=1),
	Brightness(layer="paper", range=(0.95,0.98), p=1),
	NoiseTexturize(sigma_range=(15,20), turbulence_range=(2,3), p=1),
]

pipeline = AugraphyPipeline(
	None,
	paper_phase,
	None,
	rotate_range=(1,2),
)
Our pipeline produced this output on the fourth run. Not bad!
Reproducing More Documents
For brevity, we selected just one image from the NoisyOffice set, but in a real business setting you’d choose several representatives of distortions in your document library. Reproducing these additional images is a matter of adding more augmentations matching the effects present in those documents.
Because of the aforementioned probabilistic augmentation system, it’s best to produce a separate pipeline for each type of document you want to reproduce, so you can test them in isolation. Once you’ve dialed in the parameters and you’re satisfied with the outputs, you can simply combine the unique augmentations across all these pipelines into one big pipeline, and loop its augment method over your ground truth collection to produce a large set of training data.